Follow this instruction for OJS user #
1. Create Account #
The first step you can take is to create an account that you will use in the JATS editor. Please create an account at this link
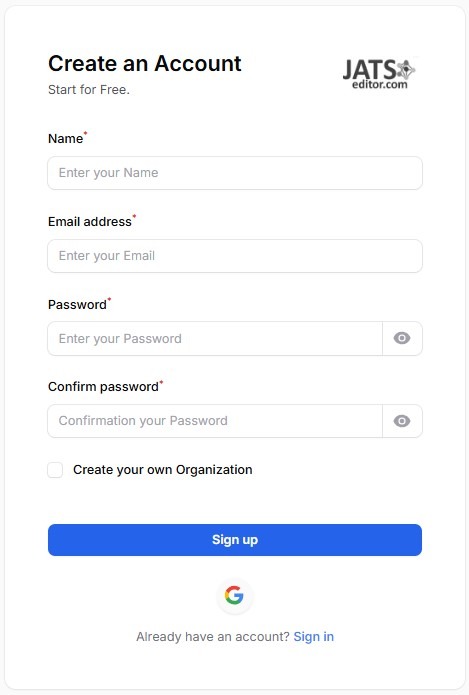
In the “create your own organization” column, you can choose check it or not. If you want to create your organization immediately, that would be better.
For a more detailed explanation of the organization function in JATS Editor, you can visit this link.
If you have already created an account and it is successful, open a new tab in your browser and open the OJS journal page that you want to integrate.
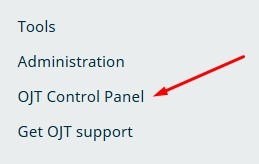
2. Installing OJT Control Panel #
Second step before using the editor, you should install OJT Control Panel, the detailed instruction can be obtained here.
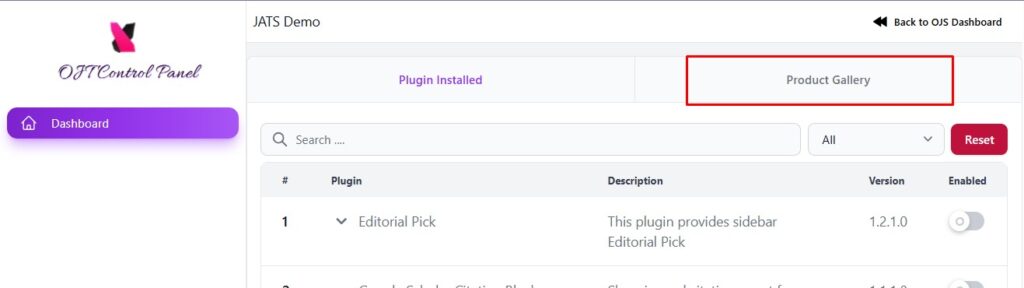
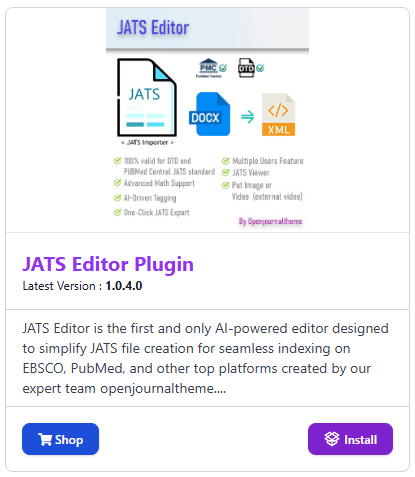
After you have install the plugins, you can download the JATS Editor Plugin that can be found in the OJT Control Panel > Product Gallery.
Click Install
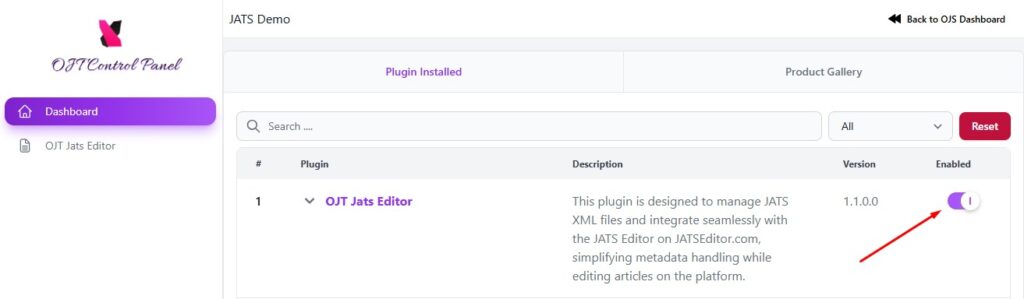
After installing success, click Plugins Installed and click enable JATS Editor plugin.
3. Setting up the JATS Editor Plugin #
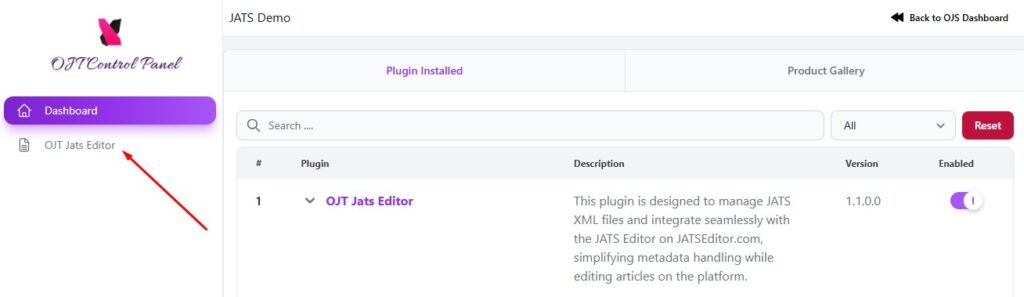
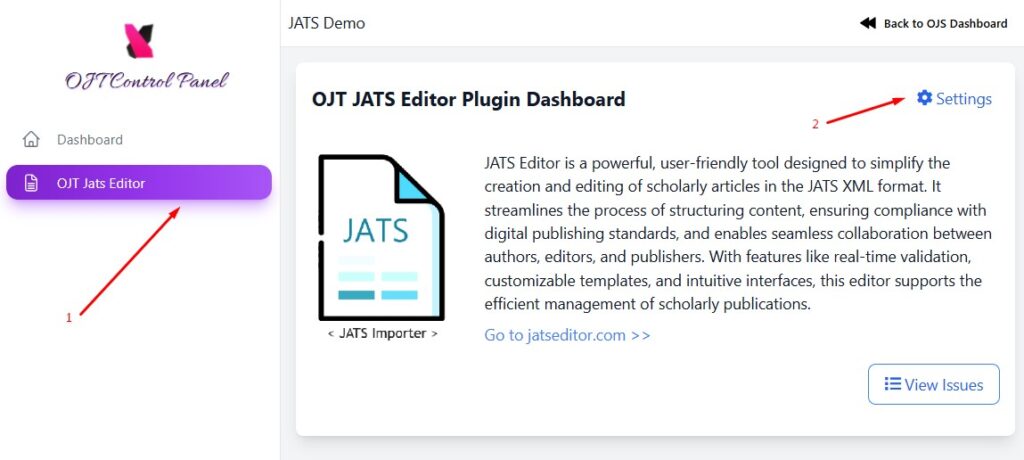
After you have enable the JATS Editor plugin in OJT Control Panel, then you can click the OJT Jats Editor plugin to initiate the process.
Login using your account #
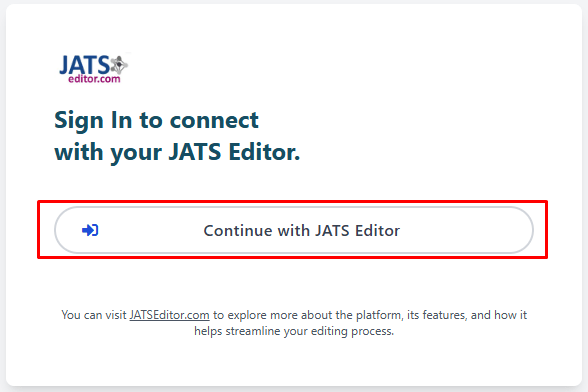
Once you have added your account the plugin, then you can go back to OJT Control Panel and click “Continue with JATS Editor”
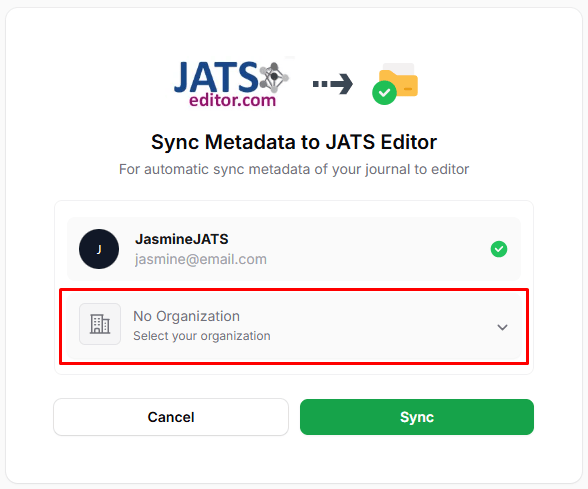
Then, for sync your metadata to JATS Editor, select your organization
List issue and prepare importing article data to jatseditor.com #
To publish the JATS in OJS, please make sure you have enable the Better JATS Viewer. You can go to JATS Editor Plugin > Setting

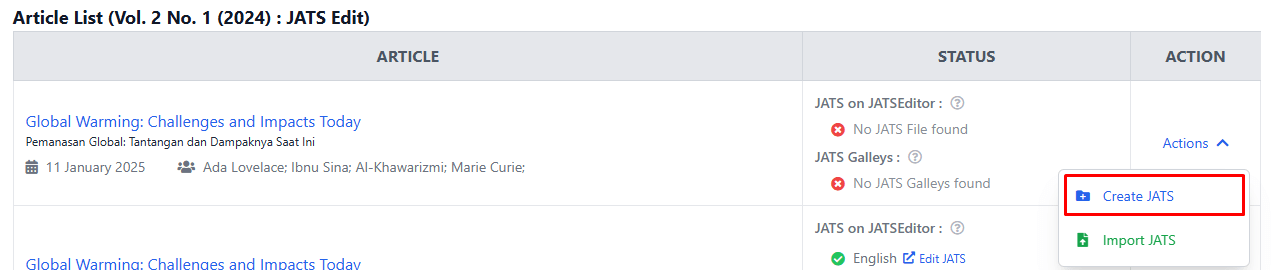
After you have settled up everything in the plugin, you can list the issue and for example click one of the issue to list all the article in that issue.

In the list of issue you can click “Create JATS” button.
You will be redirect to the jatseditor.com along with the journal and article meta tag that have been added to the editor.
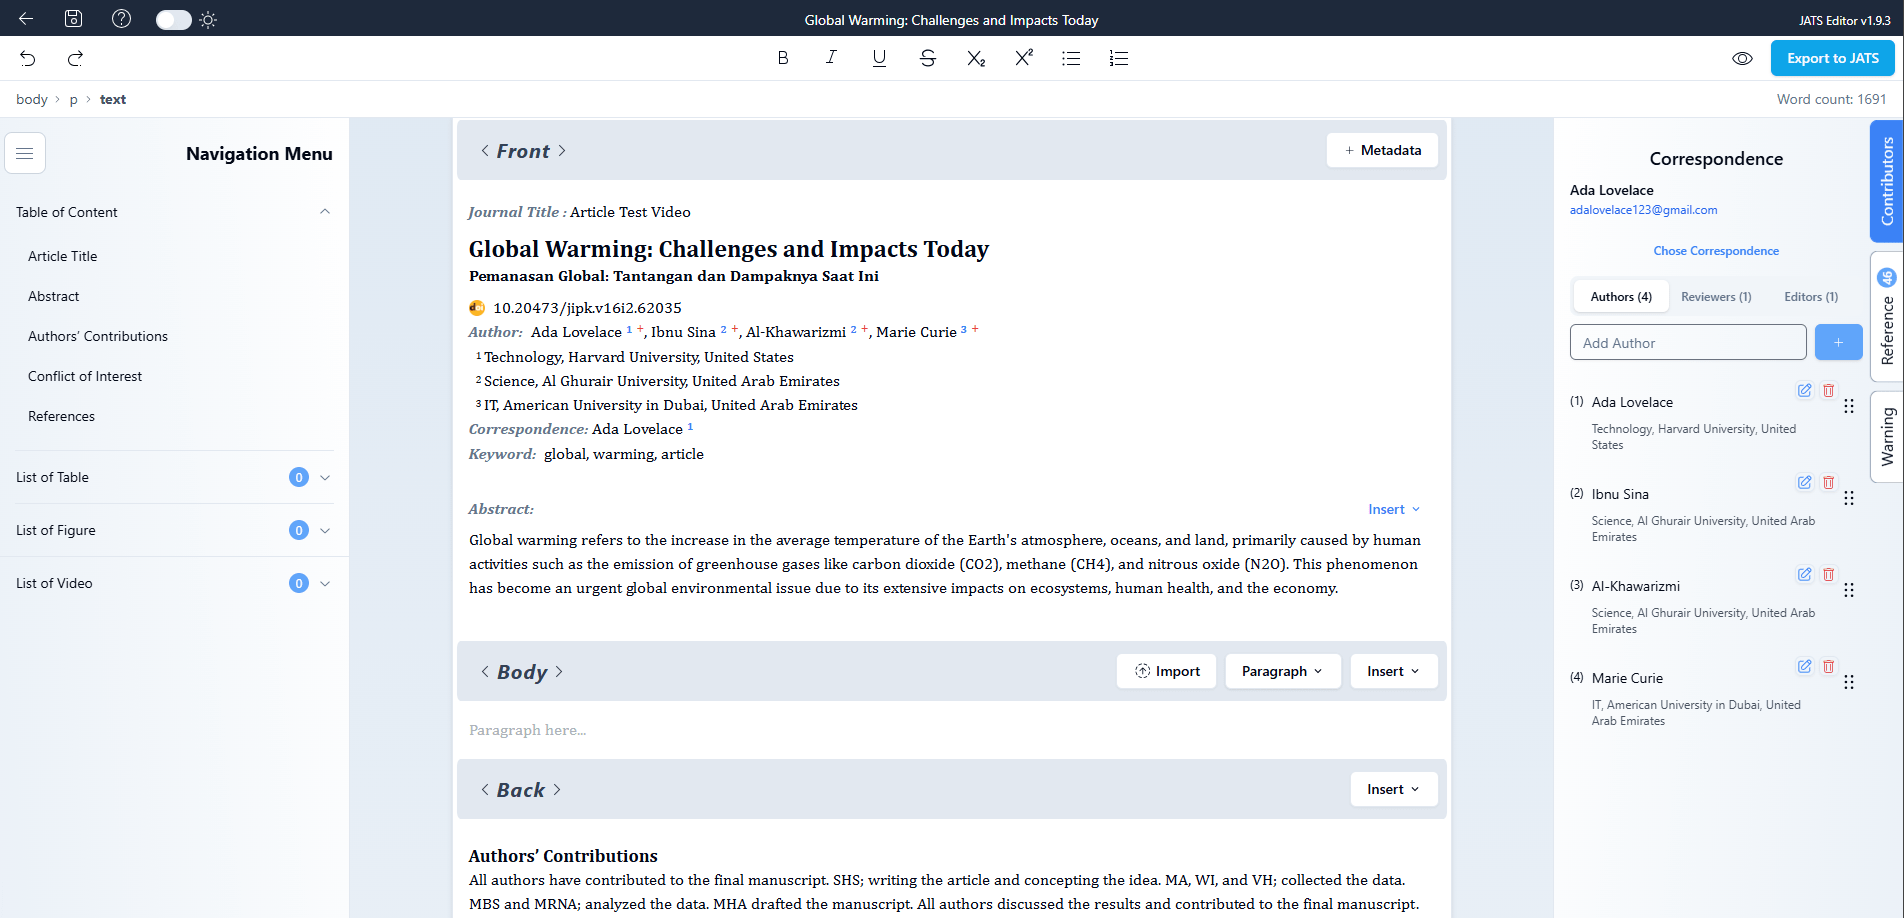
Here is some of the meta data that getting imported to the editor :
Journal Meta data :
- Publisher name
- Publisher ISSN
Article Meta data :
- Article title and its subtitle
- Authors and ORCID record of its author
- DOI
- Reference
For other tutorials related to using JATS Editor, please go here.
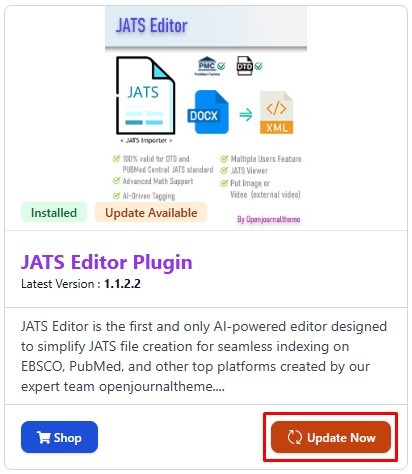
How to update JATS Editor plugin #
1. Go to JATS Editor Plugin that can be found in the OJT Control Panel > Product Gallery.
2. Scroll down and find JATS Editor plugin, then click Update